Sunday, July 12, 2015

What's for Dinner?


Those three words get mentioned in my house almost daily. I have been so overwhelmed with work and school dinner became whatever we could find in the fridge when we were hungry. I made a vow that I am going to do better at being organized and get back on track with healthier eating. In order to help me stay organized I made myself a fun a little menu. I chose to only use Monday - Friday because our weekends are usually spent running around or the complete opposite just lounging around. The file is easily adaptable and you could add Saturday/Sunday if you wish.

To make this menu all you need is a cheap glass frame, some vinyl, and your choice of paper/fabric. I used a cheap frame I picked up at WalMart, some burlap, and black Oracle 651 vinyl. I used my Cricut Explore to cut the template out of my vinyl. I transferred it onto the frame using clear contact paper. I find that to be the easiest and cheapest way to move vinyl from one place to another. After smoothing everything out I wrapped the inside insert with burlap. I pieced it all back together and Viola! Instant dry erase menu board. Make sure that the frame you use has a glass front or the dry erase does not work as well.


LINK FOR TEMPLATE *PERSONAL USE ONLY!*
Dry Erase Menu Board

Monday, January 19, 2015

Get Your Etch On!

With work and school taking over my life I don't have much time to make things. Christmas was so hectic I had to resort to store bought Christmas cards. It really was terrible. Despite being so busy, there are times where I can just make something for fun. Nick randomly said that he wanted an Ohio State shadow box for his tickets. Obviously I have made shadow boxes before, click here for my other awesome shadow box project, but this time he threw me a curve ball. He didn't want me to use vinyl but wanted something that was almost frosted so you could see the tickets in their entirety. I knew tha
t this was the perfect excuse to try out etching glass.

My first mission was to figure out what to do. After a few tutorials on pinterest and a jaunt through Youtube I felt I had a good handle on what to do. I ordered Armour Etch etching cream because it had the best reviews. My shadow box came from Amazon because they seem to have the cheapest price with decent quality. I made my stencil with my Cricut Explore. I found a Ohio State SVG through Google and uploaded it into design space. After cleaning it up a bit and removing some unnecessary layers I was happ
y with my SVG. I then uploaded a basic square and stretched it out to a 11x11. I placed my OSU SVG over the square, selected both images and sliced them together. I simply pulled off the inner layer and deleted it leaving me a lovely stencil.

It was now time to cut! I picked out some vinyl I didn't really like and used it as my stencil paper. As usual my Explore cut it like a dream. I weeded out all the inside parts and transferred the image using contact paper. Clear contact paper is my ideal transfer paper for all things vinyl. It's cheap, easy to use, and is really gentle to your vinyl. I applied my stencil to the glass and made sure all my edges were sealed tight. I didn't want any of the etching cream to slide under. I then applied a generous amount of the etching cream over my stencil. I allowed it to sit for 5 minutes, swirling things around every so often.

Then came the moment of truth. I rinsed off the cream and my heart sank. I thought that the cream didn't work. It wasn't until I held the glass up to the light I saw the difference. There was a clear differentiation between the glass and the etched part! I pulled off the vinyl stencil I made and it came out wonderful! I may have found a new obsession!

Thanks for taking the time to read all of this! I hope you found it at
least a little bit helpful!

Gina

Saturday, October 25, 2014

Target Clearance Find!

The other day I had a training at work and they gave us an extra long lunch. Being the shopper than I am, I took advantage of being near a Target and headed that way. I was scoping out the clearance isle and found this great lantern. It is considered summer decor so it was marked down quite a few times. I checked out the price and it was only eight dollars!! I figured I should buy it....because you know I could figure some use for it.
Once I got home I was unloading my bounty and pulled out the lantern. It just so happened that my Christmas Kitsch cartridge had come a few days prior and was still sitting on my dining room table. I immediately thought I could make this Christmas-fied and turn it into a cool candle holder. I went to work using vinyl and and my Explore and cut out a bunch of fun Christmas images. I plan on placing a candle inside with some pine cones and bells. I am so pleased with how it turned out.

Sunday, October 12, 2014

Make Your Own Ornament!!

So there is a new trend floating around Facebook and all the craft boards....making your own ornaments!!

After some extensive research through Pinterest, Youtube, and Facebook I decided to partake on my own mission of making my own ornaments.  It is so fun and addicting!!

What You Need:
Glass Ornaments (I ordered mine from ConsumerCrafts.com)
Glitter
Pledge Floor Wax (I used this kind link)
Adhesive Vinyl
Cricut


How to do it:
After all my research I found that the key in making a good ornament is relaxing and just having a little fun with it! 

1. I took my glass ornament and removed the metal cap/hook. Then I squeezed in a good amount of Pledge and began swirling it all around. Make sure you get a good coat on all the walls inside. You want your glitter to stick! 
2. After you think you have a good coating, dump out all the excess back into the bottle. This part is important....you want ALL the liquid out. I just turn mine upside into the bottle and let it all drip out. 
3. Add your glitter. I just make a funnel out of a paper and pour a bunch in. I have found the finer the glitter the better it coats but really any glitter will do. Feel free to have fun and add two colors. The possibilities are really endless! 
4. Shake it up! I just stick my thumb over the hole of the ornament and shake shake shake! Sometimes with a song....but that's up to you.
5. Dump out your excess glitter. I am a hoarder so I save it for later.
6. Carefully put your cap back on the ornament.
7. Apply your adhesive vinyl/stickers/ribbons/bows/whatever!

I used my Cricut to cut out the snowflake and the Grinch SVG that I got from kraftynook.blogspot.com (she has great stuff!). I then applied them with clear contact paper onto the ornament smoothing it out as I go. 

It's that easy!! I have big plans for ornaments for this year and can't wait to get started on them!

Baby Book Completed!

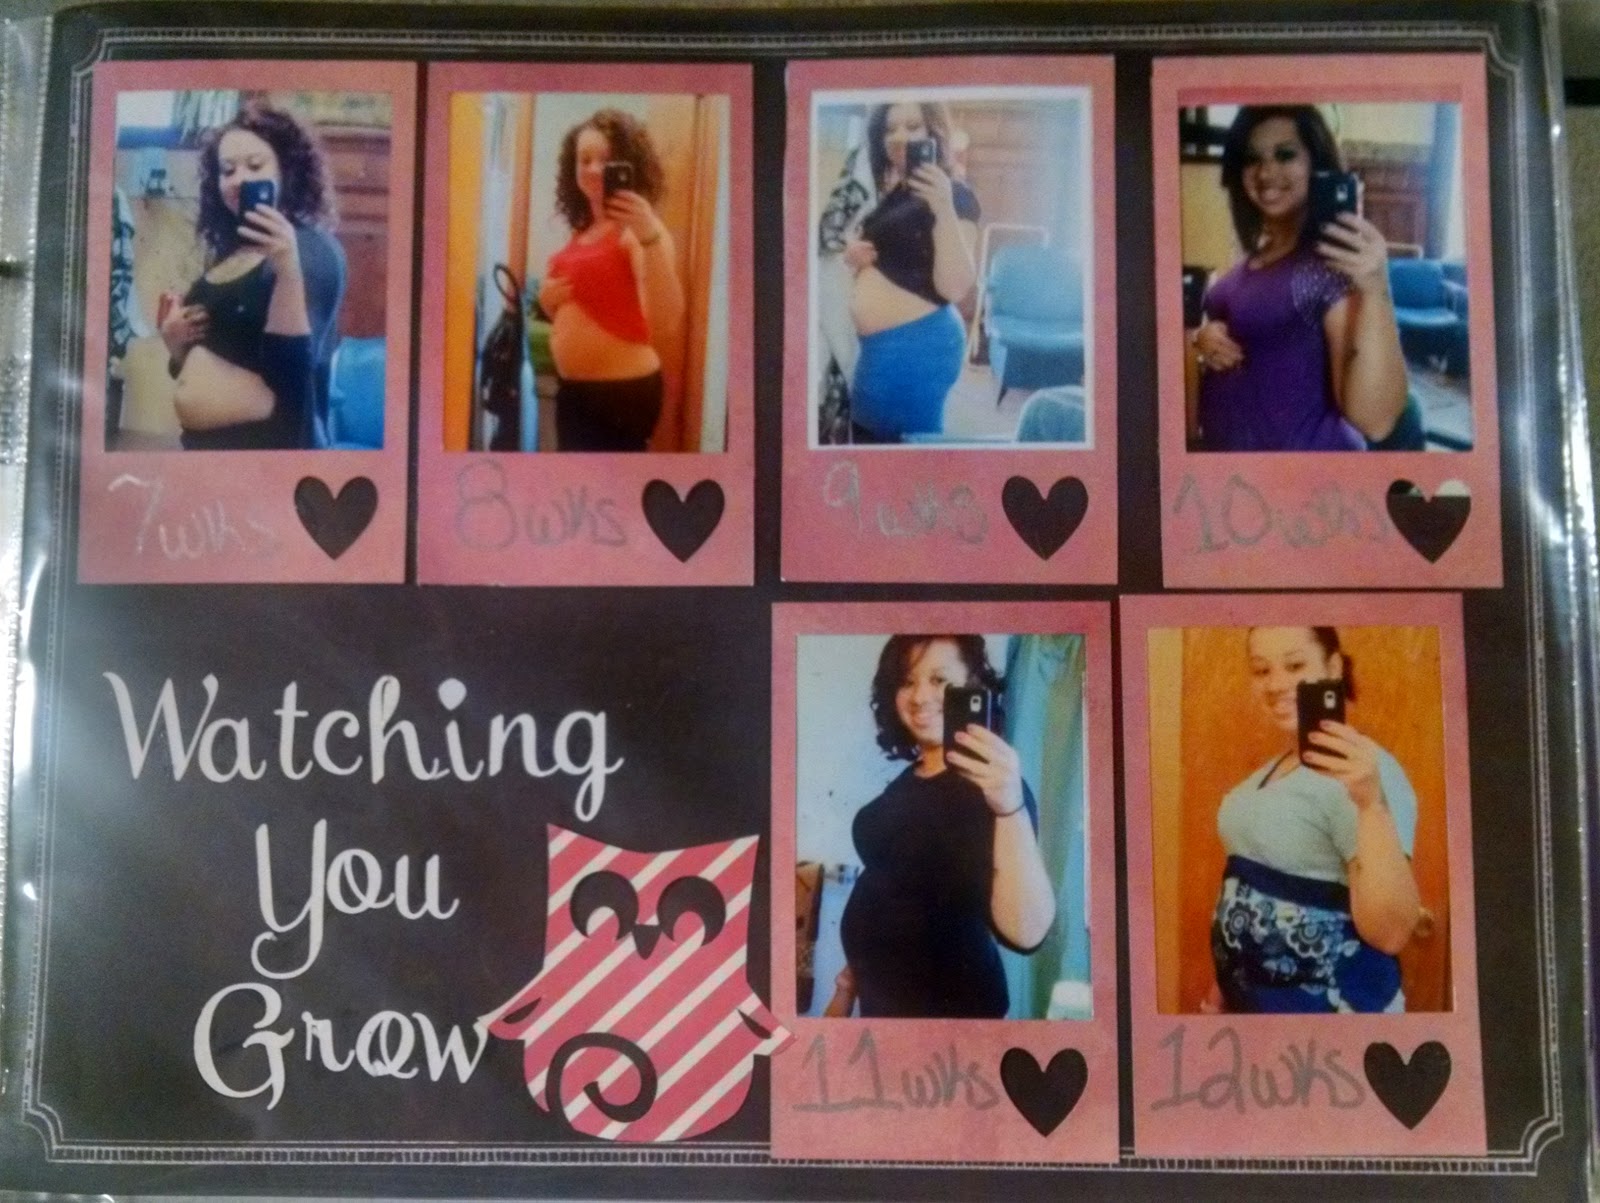
It's done! It's done! It's finally done!! After numerous weekends of purple and owls and I have finally finished one of my oldest friend's baby book. I am so happy with how it came out despite the little imperfections here and there. It was a fun journey and I think as the book goes on my growth in scrapbook making shows. Now for the best part... PICTURES!!

The cover was made with vinyl for the lettering and flourish. I then used printable vinyl and the new print then cut feature for the owls!


I added monthly photos to the end of the book so mom can add her own photos through out the year!

Saturday, August 23, 2014

Spooky Box Card

So the box card fad has been around for awhile now and for some reason I just haven't given a shot. I got a great template for the box card from the Facebook group Cricut Lovers Guide to Design Space. I added my own panels to the template and then decided to make my first box card a Halloween theme. Halloween is one of my favorite holidays, only slightly behind Thanksgiving and Christmas. I used the cute little Halloween bears from Teddy Bear Parade and and some Halloween phrases I found by searching Halloween in Design Space. That feature has to be one of the most underrated perks of Design Space. I find cuts that I had no idea I had! I embossed my card using the swiss dots folder and added all my decorations. For my first attempt I am happy with how it turned out! I have a few more ideas for these cards and can't wait to start on them!

Saturday, July 26, 2014

Where in the World is Gina?

With my new position at work I have lots people always wondering where I am at! I decided to make a sign for the kiddos (and my coworkers) to let them know exactly where I am at!

This was super fun and easy to make with my explore. I started out with some basic shapes, a circle and a flower. I then added my text using the writing feature. This has to be my favorite feature of the Explore! Simply enter in your text then click attach! I then found an arrow shape to attach to a clothespin. After cutting all my pieces I realized the card stock I picked out was kind of flimsy. I had just used up a Cricut mat and it was sitting on my floor next to my trash bin. I thought that would make a perfect backing to my sign! So I decided to bust out my deep cut blade and give it a shot. It took a few adjustments but after using a multicut of 7 and the pressure on the highest setting, I was able to pop out the circle shape from the mat. I added a few metallic embellishments and I was good to go!

Hope you have a wonderful weekend!
Gina

Sunday, July 6, 2014

Cutting a Photo

So I have seen multiple people using their Explore to cut JPGs and other photo types. I was referred to stencilgram.com, a website that will turn any photo into a stencil AND let you save it as a SVG! Brilliant! I had to try it out so I picked a random photo and uploaded it onto the website. Easy as pie. It allows you to adjust the "stencil" so you can get it just as you would like it. Then after saving it as an SVG  I uploaded it into Design Space. I simply cut it out of vinyl and after some weeding adhered it to a canvas. Fun little tip, I I put a border around mine so it made the weeding WAY easy. All those white areas  along the edge peeled off when I pulled off the border. The only weeding I had to do was in the middle. For my next one I plan on painting the canvas to do a more layered effect. I just love this machine. It seems like the possibilities are endless with it!

Sunday, June 29, 2014

Retirement Card and Easel Card File

Happy Sunday! Today I made a cute little easel card for my friends retirement party. I made mine a little different than the typical easel card but I think it still came out fun. Easel cards are probably one of the easiest cards to make. You simply make a regular card then make a "face plate" for the front. I designed my card to be slightly under 6x6. I then made my face plate the same size but cut it in half so my image stood out on it's own. If you prefer the entire front to be sticking up then just make it the same. You can also do this by using shapes welded onto your square/rectangle.


For this one I wanted to do a chair with a cat. My friend loves her cat and after working for over 30+ years she deserves to take a moment and relax with her cat Max. The image comes from the country life cart. The writing on the front is from Creative Memories Tiny Treasure and the inside font is Teresa Collins Soiree. Once again my explore made the writing come out beautifully. I embossed the front of my card (not the face plate) using swiss dots. I then scored the front of my card in the center. I attached my face plate with the writing on it to the bottom half of the card and then my image. Inside I cut a simple scalloped oval and wrote my greeting. That piece is what holds the easel up. I embellished it a bit and really enjoy how it came out. The file for this card is located below! Happy Crafting!
Gina

https://us.cricut.com/design/#/canvas/project/18479899

Saturday, June 28, 2014

Anniversary Card

Yesterday I celebrated 5 years of marriage with my hubby! A special guy deserves a special card so I pulled up design space and got to work! This project reminded me why I love the Cricut Explore. The write feature not only let me create my own greeting inside but also let me add fun flourish to the front. It was awesome to make and such a breeze. The file for the template is located below! Thanks for taking a look!

https://us.cricut.com/design/#/canvas/project/17773593

Sunday, June 15, 2014

Few more baby book pages!

Between school and work I just haven't had the time to work on any projects like I would really want to. Thankfully today I was able to sit down and finish up some pages for my friends baby book and work on my anniversary card. I'll only be posting pictures of the baby book pages until I actually give my card to my hubby.

Thanks for taking a look!
Gina


Saturday, May 17, 2014

OU Graduation Gift

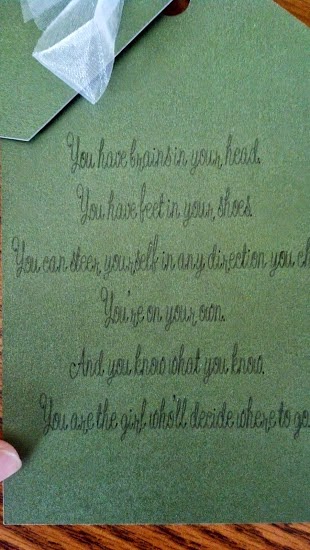
I haven't had a whole lot of time to work on craft stuff between school and work but I did make my little sister a fun graduation present. She graduated from Ohio University a few weeks ago so I made her a vinyl Ohio University canvas and a Bob Cat Card to go with it. I got to take advantage of my Explore writing ability and put a fun Dr. Seuss quote inside. Hope you all enjoy!

Happy Crafting!
Gina